Making Presentations with LaTeX and Prosper
Numerous people have written macro packages that can be used with LaTeX. These packages provide an enormous range of functionalities, ranging from formatting of citations to drawing Feynman diagrams. These packages together with features such as automatic index generation and bibliographies (using the BibTeX package) of LaTeX, provides the technical writer with an extremely powerful tool to create beautiful documents, concentrating on the logical flow, rather than having to worry about the underlying details of formatting and layout.
However, documents are not the only the things that need to be written. Many a time, a presentation must be made. Under Linux, tools such as KPresent and MagicPoint exist and of course Windows users have MS PowerPoint. These are the traditional GUI tools. However, when one has to make a presentation containing formulas, these tools seem a little clunky and you're stuck with whatever the package provides. Furthermore, if your documents are written using LaTeX, it would be nice if we could use those documents to generate slides for a presentation.
TeX and LaTeX being the all powerful peices of software they are, this is indeed possible. However, the problem with making presentations in LaTeX is the large number of packagaes available to do so. I've listed a few of the packages available, but there are quite a few more which I have'nt mentioned.
- The slides class which is part of the LaTeX distribution. This class defines page sizes, font sizes etc suitable for printing tranparencies. Though the resultant DVI file can be converted to a PDF, there is no support for the various features of PDF's such as slide transitions and hyperlinks. In addition the package provides no defined slide styles (ie backgrounds, frames etc).
- The Seminar package developed by Timothy van Zandt, is an extremly powerful set of macros with which one can develop presentations that can take full advantage of the PostScript and PDF specifications. There are an extremely large number of options and commands available for this package. So the learning curve is a little steep.
- The PDFLatex package is specifically designed for converting LaTeX source files to PDF format without having to through the intermediate DVI stage. Using this package along with the FoilTeX, pdfslide & PPower4 packages allows one to generate presentations as well.
- Prosper is a set of macros which allows one to generate PostScript or PDF presentions. There are certain advantages to this package over the others. Firstly, though it has a simple structure , the package provides enough options to generate good looking slides. All the features of a PDF document such as transitions, overlays etc are available. In addition, it easy to generate different slide styles, ala PowerPoint. Of course, you still have access to the full power of TeX - so you are free to extend your documents if you have the knowhow. But for LaTeX beginners, Prosper encapsulates a lot of the details in an easy to use manner.
Prosper
All LaTeX documents have a common basic structure. The first line always defines the document type - article, letter, chapter or in this case slides. After that comes the preamble. In the case of Prosper, this is where you specify the title slide. The next section is the document proper. When using Prosper this is where you define the contents of successive slides. I'll cover the individual sections of a document written with Prosper in detail but the first step is to install the package.Installation:
As I mentioned above the Prosper package provides a set of macros which define functional elements of a presentation - the slides, how slides should transition etc. The package can be downloaded from prosper.sourceforge.net. To use the package you will require the seminar, pstricks and hyperref packages (which comes with the standard TeX distribution on RedHat). To generate the final output you'll also need dvips, GhostScript and ps2pdf. After downloading the tarball, extract it into a directory. To make use of the package and associated style files you can place the required files (prosper.cls, the style file that your are using and any associated graphics images, such as for bullets) into the directory that contains your LaTeX document. However a neater method is to put the Prosper directory into your TEXINPUTS environment variable:
~: export TEXINPUTS=~/src/tex/Prosper:$TEXINPUTS
where ~/src/tex/Prosper is the directory into which I extracted
the Prosper files. That completes your installation.
The prosper Document Class
To make a presentation using the Prosper package you need to specify it in your \documentclass (alternatively you can also specify it in a \usepackage command in the preamble). Thus the first line in the LaTeX file should be of the form
\documentclass[ OPTIONS ]{prosper}
There are several options that can be specified to the package.
You can read about all the options in detail in the
documentation that comes along with Prosper. I'll just give a
brief overview of some of common and useful options:
- draft: Compiles a draft version of the presentation, with figures replaced by bounding boxes.
- final: Compiles a complete version of the presentation with figures and captions in their proper places.
- ps: Compiles the LaTeX file to PostScript for printing purposes
- pdf: Compile the LaTeX file to PDF format suitable for projectors.
- An important option to specify is which presentation style to use. Prosper comes with several styles and new styles can easly be made with a little knowledge of the pstricks package.
The Preamble
The next section in your document is the preamble (ie the part between \documentclass & \begin{document}). In this section you specify the contents of the title page of the slide as well as some options (such as logo's and slide caption) that can be applied to all the slides. The normal LaTeX macros have been redefined to generate the title and associated text with proper font sizes etc. Some of the macros available for designing the title slide include- \title
- \subtitle
- \author
- \slideCaption - you can use this macro to put a caption at the bottom of each slide.
- \Logo - allows you to place a logo on each slide at a specified position.
- \DefaultTransition - defines the type of transition that should occur between slides.
The slide Environment
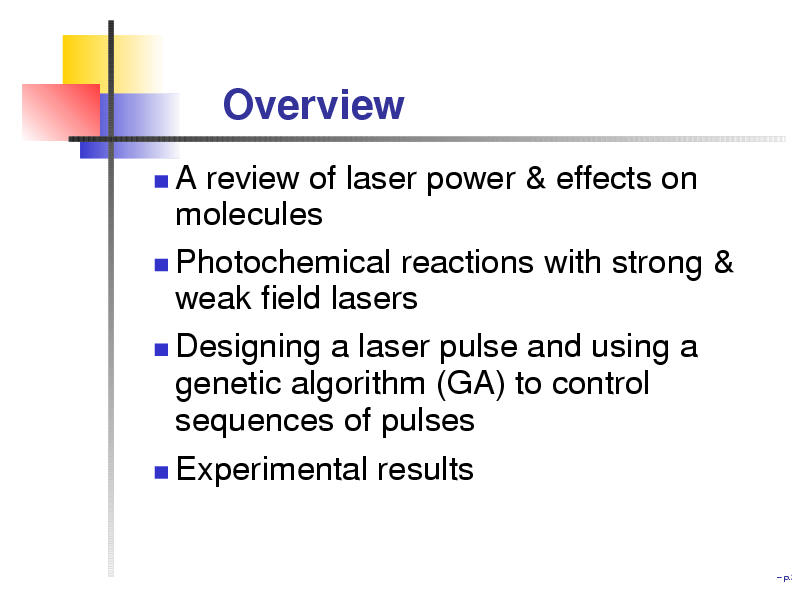
The Prosper package defines the slide environment. This represents the basic unit of a presentation - a single slide and is placed in the document body (ie after the \begin{document} command). Within a slide environment all the usual LaTeX commands may be used. Images, formulas, tables, footnote commands, page structure commands etc can all be used within a slide environment. The Prosper package does redfine the itemize environment so that the text is no longer justified. In addition it supplies images for the bullets. Thus a single slide containing a bulleted list can be represented by the following LaTeX source.Alongside you can see what the final PDF output for this slide would look like.
\begin{slide}{The Title of the Slide}
\begin{itemize}
\item Item 1
\item Item 2
\item Item 3
\end{itemize}
\end{slide}
|
|
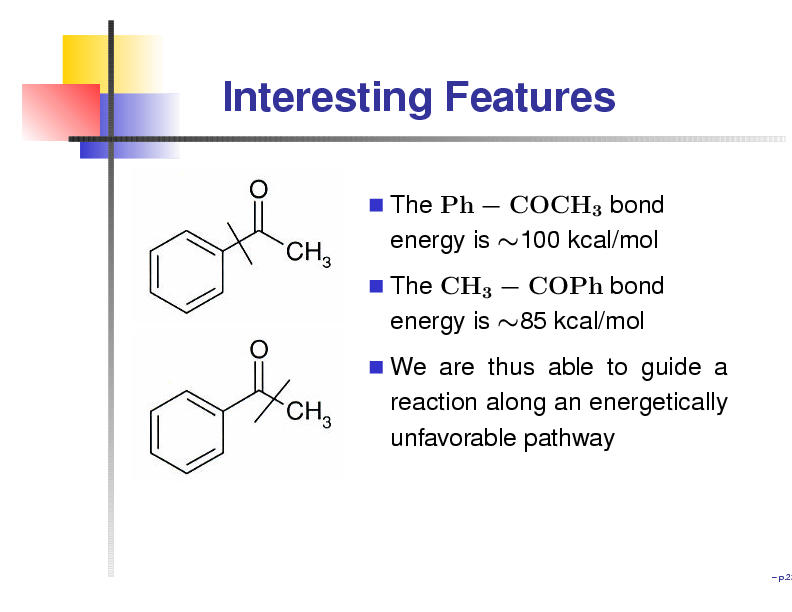
The environment does not provide any means to divide the slide area into colums or rows - it simply provides a rectangular display area (the dimensions of which may vary from style to style). However, using the minipage environment its very easy to make a two column slide. For example, the following slide would make a 2 column slide, with a picture in one column and a bulleted list on the other. Alongside is the PDF representation of the LaTeX source.
\begin{slide}{Another Example Slide}
\begin{minipage}{4cm}
\epsfig{file=./picture.eps}
\end{minpage}
\begin{minipage}{7cm}
\begin{itemize}
\item Item 1
\item Item 2
\item Item 3
\end{itemize}
\end{minipage}
\end{slide}
|
|
- \FontTitle - defines the font to be used in a slide title
- \FontText - defines the font to be used in the slide text
- \fontTitle - Writes its argument as the slide title
- \fontText - Writes its argument as the slide text
Page Transitions
An important command is \PDFtransition, which can be used to specify how the current slide should appear. However, the usual way to specify a slide transition for a specific slide is to put the transition mode into the \begin{slide} command as
\begin{slide}[Glitter]{Slide Title}
The Prosper package support several
types of transitions:
- Split
- Blinds
- Box
- Wipe
- Dissolve
- Glitter
- Replace (the default)
Overlays
A very useful feature of computer based presentations is the ability to make overlay slides - that is, parts of the same slide will appear at different times. Prosper provides commands to implement this in a very simple fashion. The \overlay command is used to specify that a given \slide environment will consist of a sequence of overlays. You must specify the number of overlays that make up the slide. Furthermore, there are several commands that can be used to specify exactly what material should appear on which slide within an overlay. These commands are- \fromSlide{p}{material} - Puts material on slides p till the end of the overlay
- \onlySlide{p}{material} - Puts material only on slide p
- \untilSlide{p}{material} - Puts material on all slides from the first to the p'th.
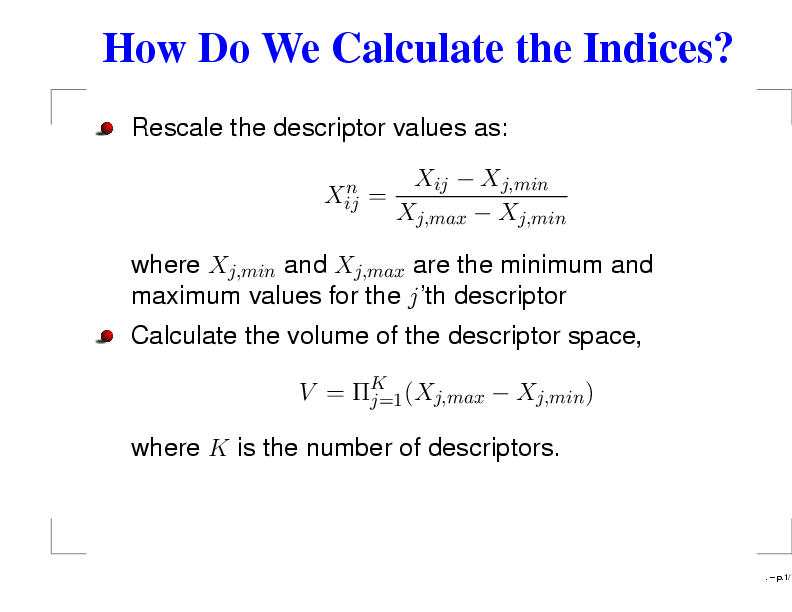
\overlays{5}{
\begin{slide}{The Effects of Power}
\begin{tabular}{rc}
\begin{minipage}{4cm}
\onlySlide*{1}{\epsfig{file=stage1.eps}}
\onlySlide*{2}{\epsfig{file=./stage2.eps}}
\onlySlide*{3}{\epsfig{file=./stage3.eps}}
\onlySlide*{4}{\epsfig{file=./stage4.eps}}
\onlySlide*{5}{\epsfig{file=./stage5.eps}}
\end{minipage} &
\begin{minipage}{6cm}
\begin{itemstep}
\item Alignment
\item Deformation
\item Coulomb explosion
\item X-ray emission
\item Nuclear reaction
\end{itemstep}
\end{minipage}
\end{tabular}
\end{slide}}
|
|
- \PDForPS{ifpdf}{ifps}
- \onlyInPS{material}
- \onlyInPDF{material}
\overlays{3}{
\begin{slide}{An Example Slide}
\onlySlide*{1}{\epsfig=./pic1.eps}
\onlySlide*{2}{\epsfig=./pic2.eps}
\onlySlide*{3}{\epsfig=./pic3.eps}
\onlyInPS{\epsfig=./epspic.eps}
\end{slide}}
In the case that the snippet was converted to a PDF we would get a
slide which would successively display pic1.eps, pic2.eps and
pic3.eps. However if the snippet was compiled to PS format then the
slide would only contain the image epspic.eps.
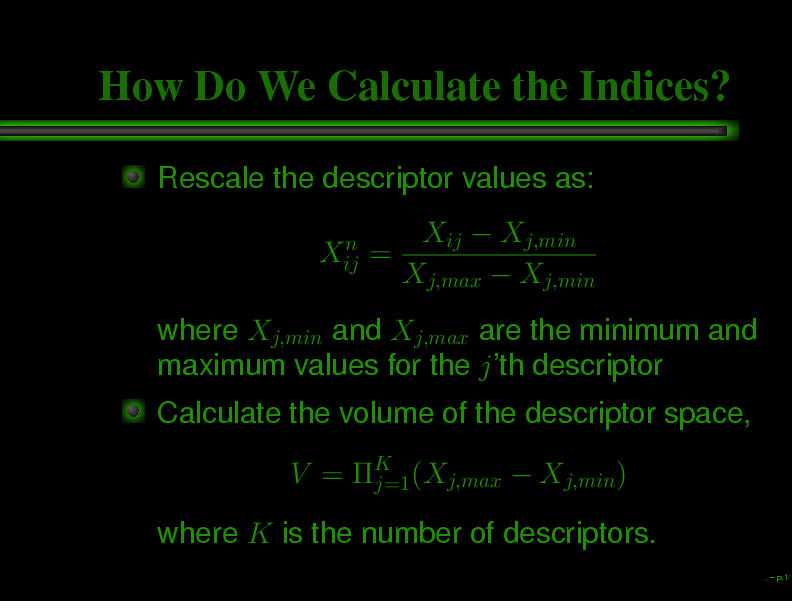
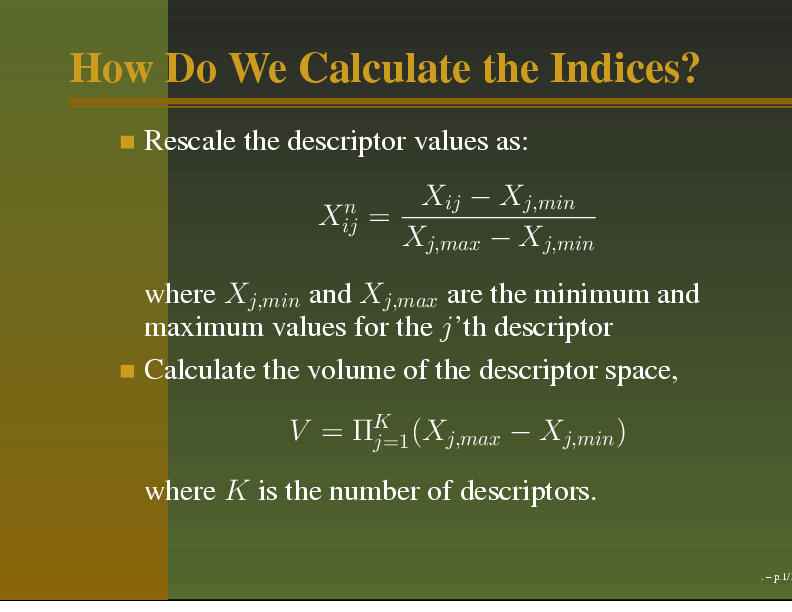
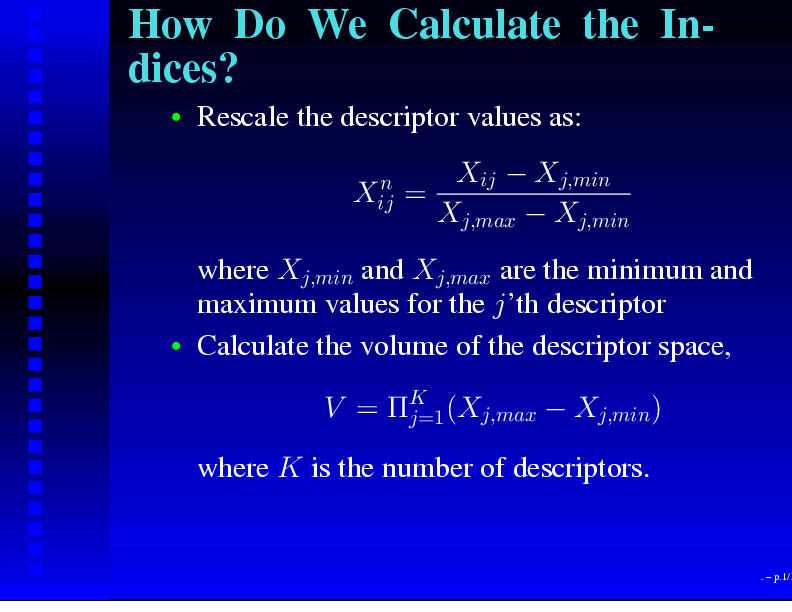
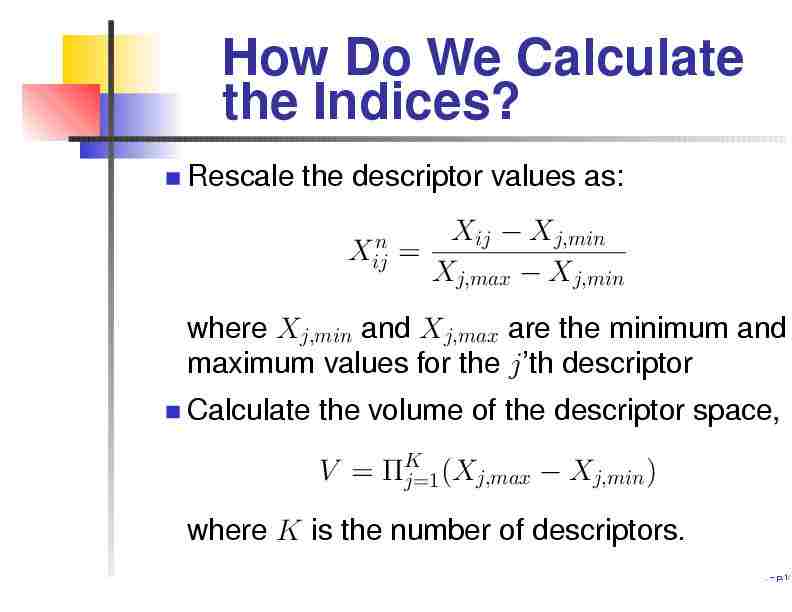
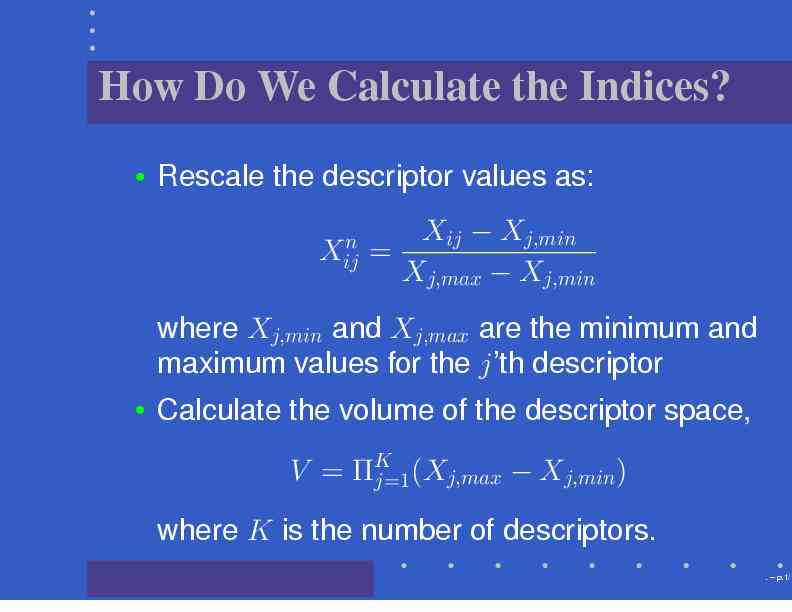
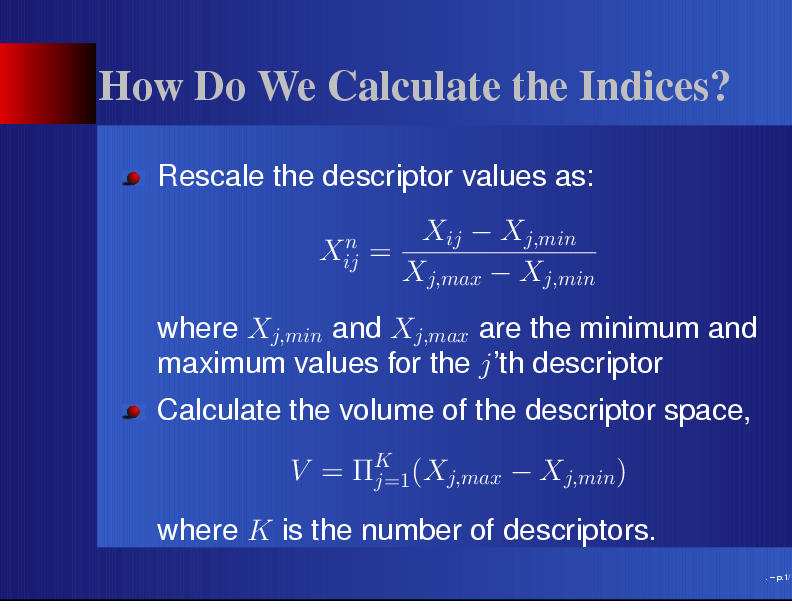
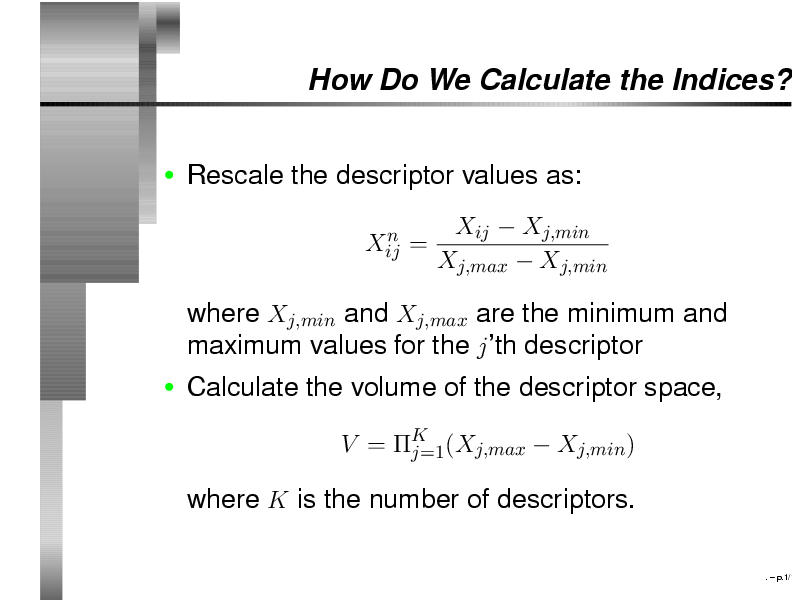
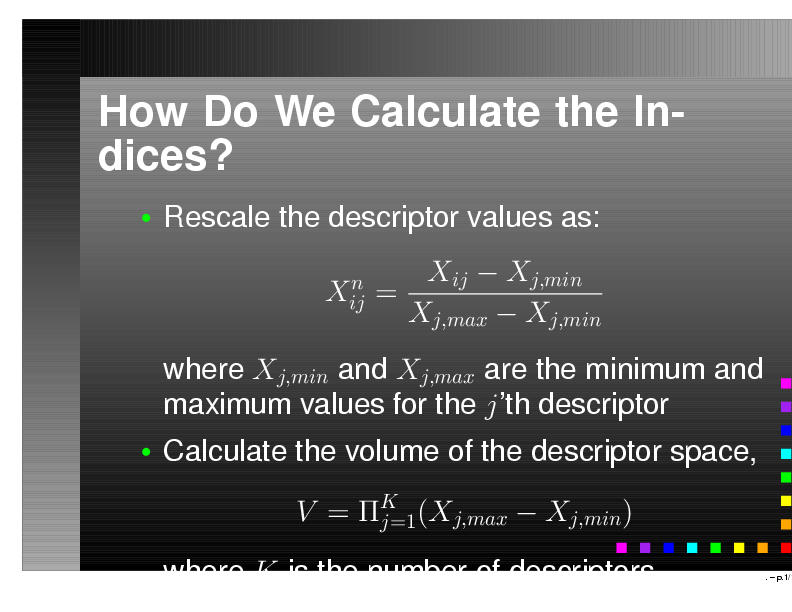
Presentation Styles
The Prosper package comes with several style files. Essentially these provide predefined background colors and patterns, title fonts bullet styles etc. Thus you can easily change the look of your presentation by including a different style file. Which style to use is specified in the \documentclass. Below you can see a slide generated using the different slide styles.
|
|
|
|
|
|
|
|

|
|
Assuming you're comfortable with the pstricks package designing a new slide is made easier with a number of macros defined by Prosper. You have access to a number of boolean macros which allows you to include features depending on the current environment (PDF or PS, color or black & white etc). The main macro that Prosper provides to design a new style is \NewSlideStyle command. After designing the style, you need to tell Prosper the details such as how much display area you are providing, where it should be located etc using this macro.
Processing the LaTeX File
At this point you should be able to write up your presentation. The last step is to convert the LaTeX source to a PDF file. The steps involved are pretty simple- latex file.tex
- dvips -Ppdf -G0 file.dvi -o file.ps
- ps2pdf -dPDFsettings=/prepress -dAutoFilterColorImages=false -dColorImageFilter=/FlateEncode file.ps file.pdf
- The -G0 parameter passed to dvips is used to get around a bug in GhostScript which converts the 'f' character to a pound sign in the final PDF
- The -dPDFsettings parameter for ps2pdf is to prevent downsampling of EPS images when they are converted to PDF. Without this switch, EPS graphics in the final PDF look very fuzzy and especially so, when viewed with a projector
- The remaining parameters also help in generating sharp images and were pointed out by Holger Jakobs.
Miscelaneous Features
- Since Prosper includes the hyperref package by
default, you can easily set links and targets, with the
\hyperlink and \hypertarget commands, within your
presentation to enable easy navigation.
- Powerpoint allows you to embed animations within the
presentation. This is also possible when using Prosper, since it
uses the hyperref package.
To embed an MPEG movie you can include the following code
snippet
\href{run:movie.mpg}{Click here to view the movie}Two points to note:- Viewing the movie depends on Acrobat Reader being able to run the viewing program. This can be set by making sure you have an entry in your .mailcap file for the filetype you want to play.
- The resultant movie plays in its own window. Thus its not possible to actually 'embed' the movie in the presentation itself (at least, under Linux)
Usuing this technique you could run any type of file (assuming you have a program to handle it) or even executables like shell scripts etc. - You may want to convert your PDF presentation to an HTML
slideshow. This is possible using the program
pdf2htmlpres.py.
It can use the program convert from the ImageMagick suite or
GhostScript directly to convert the PDF slides to a series of
JPG's (or GIF's or PNG's) and generate HTML pages to form a
slideshow.
- Keep in mind that Prosper is designed with A4 paper size in mind. If your dvips is set to use letter format as the default format, you need to tell dvips to use a4 format by adding -t a4 to the dvips command line.
Conclusion
After reading this I hope I've been able to convey some of the features and benefits that the Prosper package provides. Granted, for a person who does'nt use LaTeX, a GUI alternative would be easier. But for all the TeXnicians out there, the Prosper package allows one to generate well designed and stylish slides efficiently, at the same time allowing the knowledgable user to extend the package using predefined macros as well as pure TeX.The Prosper community has a very useful mailing list which can be accessed at the Prosper website. In addition the Prosper tarball contains comprehensive documentation explaining the available commands nd macros provided by the package. The tarball also contains a document displaying the capabilities of the package. The LaTeX source of these documents are the best way to learn how to use the various features of Prosper.
I for one have finally been able to get rid of MS Powerpoint and use Prosper to develop all my presentations. Using this package I'm able to create presentations rivaling those produced by more popular GUI packages, which can be viewed with the very common Acrobat Reader (and converted to clean HTML when required!). You can take a look at presentations I've made using prosper on my website
For all the LaTeX users I strongly recommend taking a look
at Prosper.